
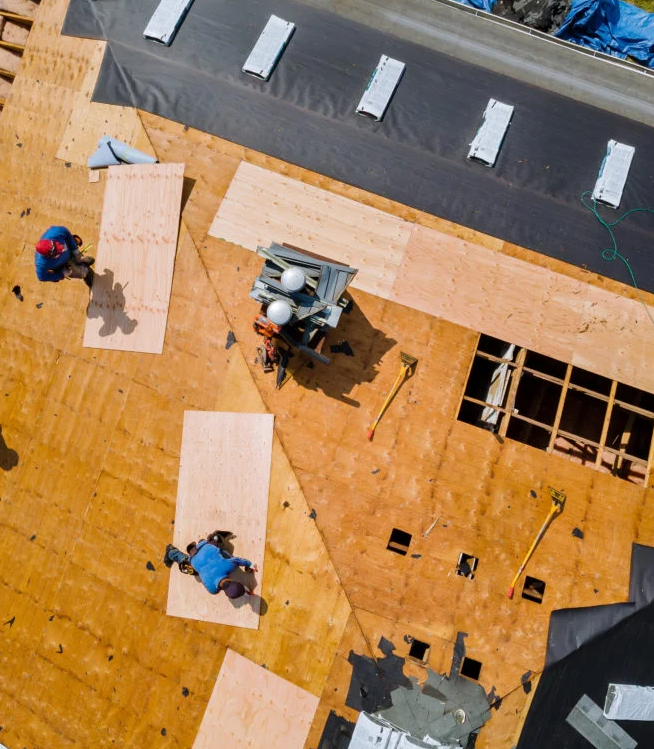
Installing an asphalt shingle roof can be done by homeowners, but it’s important to note that roofing work can be dangerous, and if you’re not comfortable or experienced with this type of work, it’s advisable to hire a professional. If you decide to proceed, make sure to follow safety guidelines and local building codes. Here’s a general guide on how to install roofing shingles:
Tools and Materials:
- Roofing shingles: Choose the type and color that suits your preference and climate.
- Roofing felt or underlayment: Provides an additional layer of protection against leaks.
- Drip edge: Metal flashing that prevents water from getting under the shingles.
- Starter strip shingles: The first row of shingles that provides a base for the rest.
- Roofing nails: Galvanized or stainless steel nails are commonly used.
- Roofing nails with plastic caps: Used for capping the ridge and hip lines.
- Roofing adhesive or cement: Secures shingles in place and prevents wind uplift.
- Roofing vents (if necessary): Ensure proper ventilation for your attic space.
Steps:
- Safety First:
- Use proper safety gear, including a harness if working on a steep roof.
- Ensure the roof is dry and safe to walk on.
- Prepare the Roof:
- Remove the old shingles, if necessary, and inspect the roof deck for damage.
- Install roofing felt or underlayment over the entire roof surface.
- Install Drip Edge:
- Attach drip edge along the eaves (bottom edge) of the roof.
- Install Starter Strip:
- Install the starter strip along the eaves, using roofing adhesive to secure it.
- Install the First Row:
- Align the first row of shingles with the starter strip.
- Nail the shingles in place, following the manufacturer’s instructions for placement and spacing.
- Continue Installation:
- Continue installing shingles row by row, staggering the joints to ensure proper coverage.
- Use roofing adhesive to secure the shingles in areas prone to high winds.
- Cut Shingles:
- Use a utility knife to cut shingles as needed, ensuring a proper fit around vents, chimneys, and other obstacles.
- Install Ridge Caps:
- Install ridge cap shingles along the ridges and hips of the roof.
- Secure them with roofing nails and cover the nails with plastic caps.
- Clean Up:
- Remove any debris from the roof and clean the gutters.
- Inspect and Maintain:
- Periodically inspect your roof for damage and replace any damaged shingles promptly.
Always consult the manufacturer’s installation instructions for the specific type of shingles you are using, as methods may vary. Additionally, check local building codes and regulations before starting any roofing project. If in doubt or if the roof is complex, consider hiring a professional roofing contractor.